
No1 made Rockcakes at school today. This is to be encouraged. And they looked and tasted as good as this one looks.. A fitting number 90.
No1 made Rockcakes at school today. This is to be encouraged. And they looked and tasted as good as this one looks.. A fitting number 90.

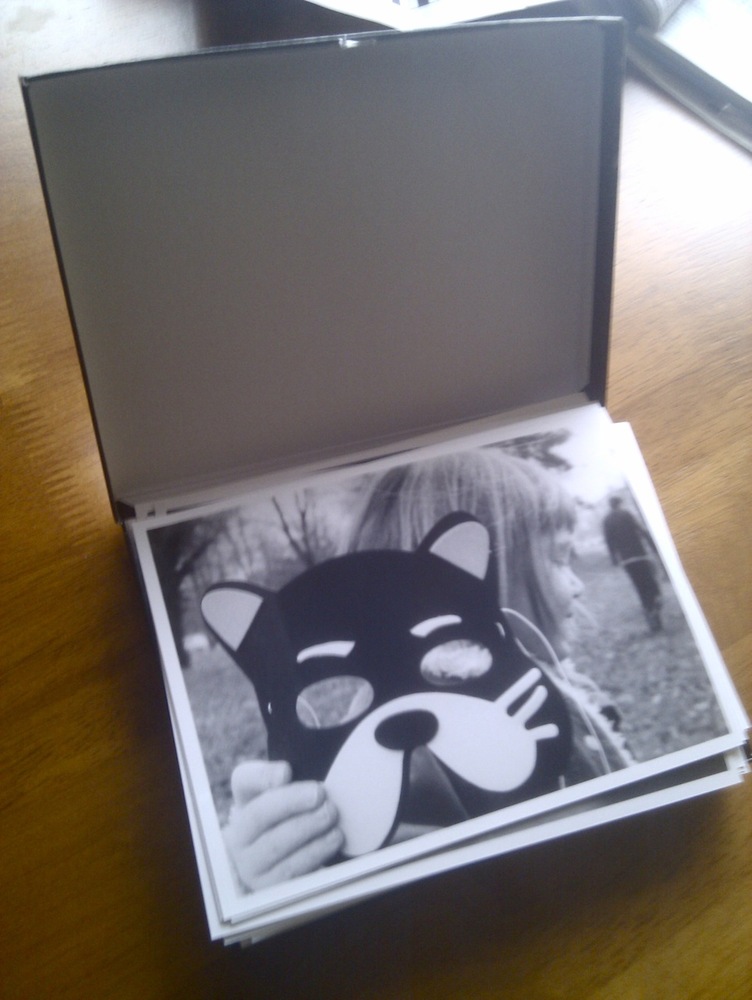
I think this was taken about 6 months ago – maybe more – but only come into my possession and seen yesterday. Taken on ilford Delta 3200 – hence the grain.
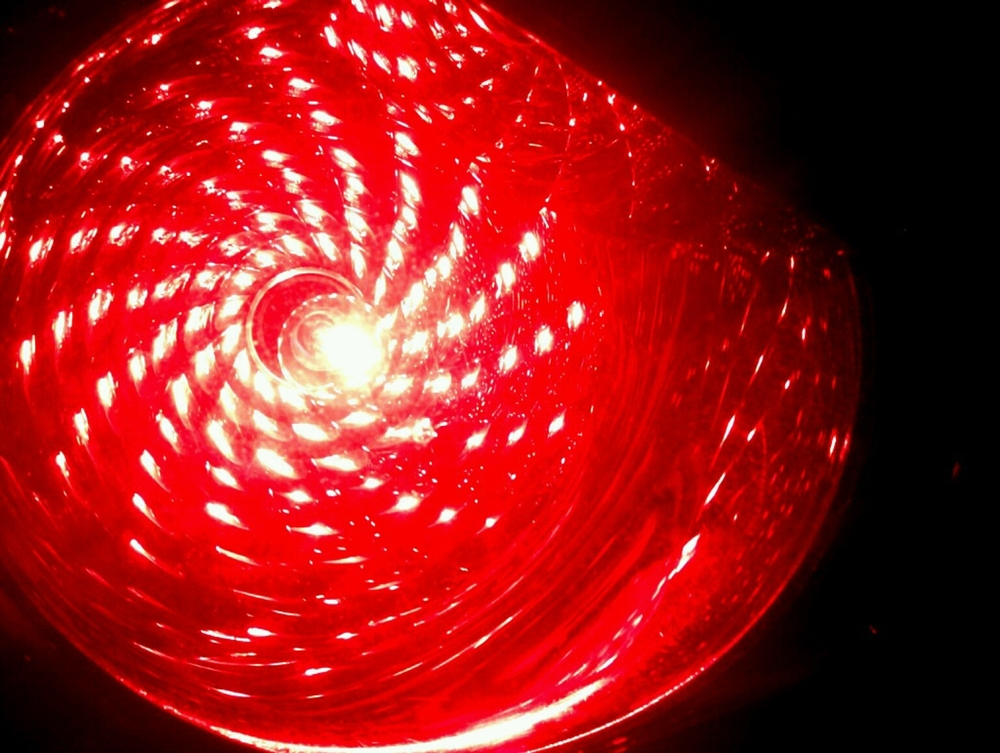
Or my tail light
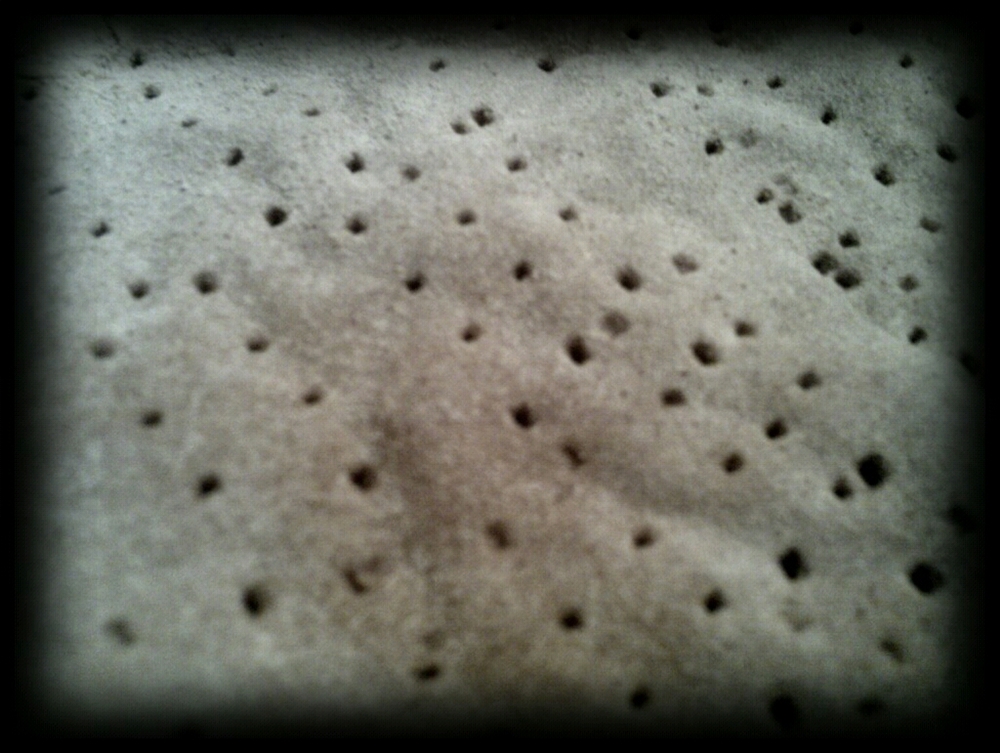
Well it was supposed to be a type of flat bread but is more like ryvita

Here is how I set up my Canon 450D to auto-bracket (for HDR) – That is setting the camera to take three different shots of the same thing at slightly different exposures.
Enjoy. And you will get better results with a tripod – although most of my shots are hand held:
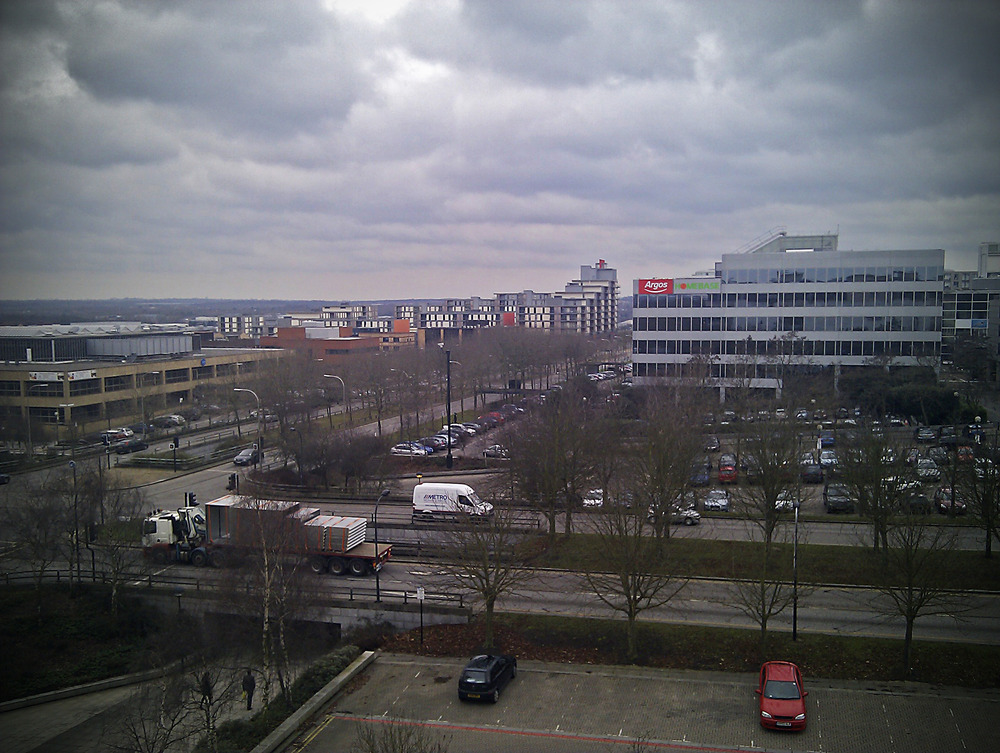
A naughty birds eye view taken where the management say we shouldn’t.
But hey whats wrong with this? My eyes see it as well – and we are allowed to look.