So I finally succumbed and bought the kids this arena to use with their ninjago. I admit that I was drawn to it to get a version of Sensei Wu at low cost. Before they have had the Beyblade stadium – which is built the same way from what I assume is vacuum formed plastic, and it got in the way and got trodden on and broken – so I wasnt too keen on getting a something else to ruin.
This one though is better in a couple of ways
Firstly its not as tall – which makes the whole thing feel smaller. It also means it should slip easily out of the way under a sofa.
Its got a lenticular style 3D picture – which looks straight out of lego universe on its main playing area – which is flat – and not concave like Beyblades.
It also seems to have more supports under the playing area which makes it seem more sturdy.
The ninjago bases spin like billyo on the baseboard and there are also neat little alcoves within the stadium to store your spinner, cards and the minifig as well as their weapons.
In all not bad value for under a tenner GBP especially when you factor in the better build quality and the Sensei Wo fig. Only slight sad thing was it looked like you got more weapons – namely nunchucks in the set – and there are no cards for sensei – but apart from that the kids seem happy with this set.
Here is how I set up my Canon 450D to auto-bracket (for HDR) – That is setting the camera to take three different shots of the same thing at slightly different exposures.
First put the camera into AV or TV mode – I use AV for most things, but you may wish to set it to TV and lock the time to around 100th of a second to reduce the chance of camera shake.
Move to the first set of menus using the direction pad and select Quality. Now change the quality setting to RAW or L Jpeg and RAW. (The latter takes up more space on the card)
Now move to the second menu, and select the option for AEB. Move the direction pad left or right to set the difference between the exposures. I usually set it to 1 – 0 – 1 as in the video – but you can set it up in between stops if you wish. Press select to confirm. (NOTE: when you switch the camera off it looses the AEB setting – this has caught me out several times)
Finally I find it best to set the shutter mode to the continuous shooting mode. If you don’t do this then you have to press the shutter release three times in a row – easy to forget and introduces shake and potentially different images. Just remember to hold the shutter down for three shots- the camera pauses slightly before it takes the next one, so release it after three.
Enjoy. And you will get better results with a tripod – although most of my shots are hand held:
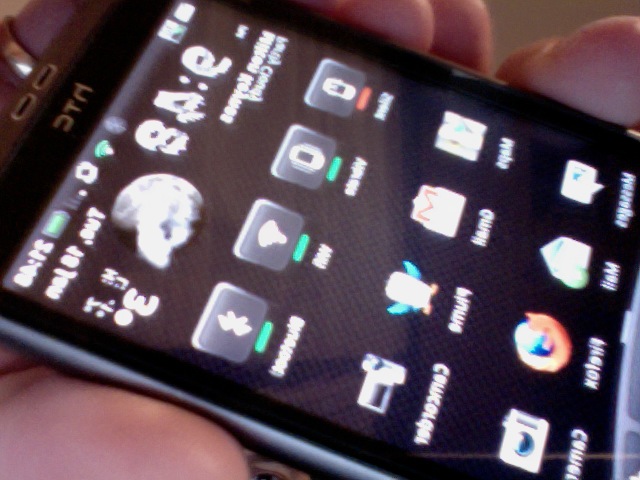
My phone is now back – almost to normal – that is its all working again now – but I can now install pretty much everything I need on my phone without memory worries.
Thanks to:
Unlockr.com leedroid Clockworkmod recovery xda forums Paul titanium backup and Rom Manager
Thanks guys
(photo taken with photobooth on my mac – but its mirrored for some reason.)